
5 Tips to Nailing Photos in Low Light
While it certainly doesnt feel like it weather-wise, summer is officially on its way out here in the States. While the days will shorten and the darkness will creep in earlier and earlier every day, this is certainly no excuse to pack your camera away. Embrace the new found shadows and highlight the brights you’ve got with these quick tips for shooting in low light from our contributor STEPHANIE BRYAN!
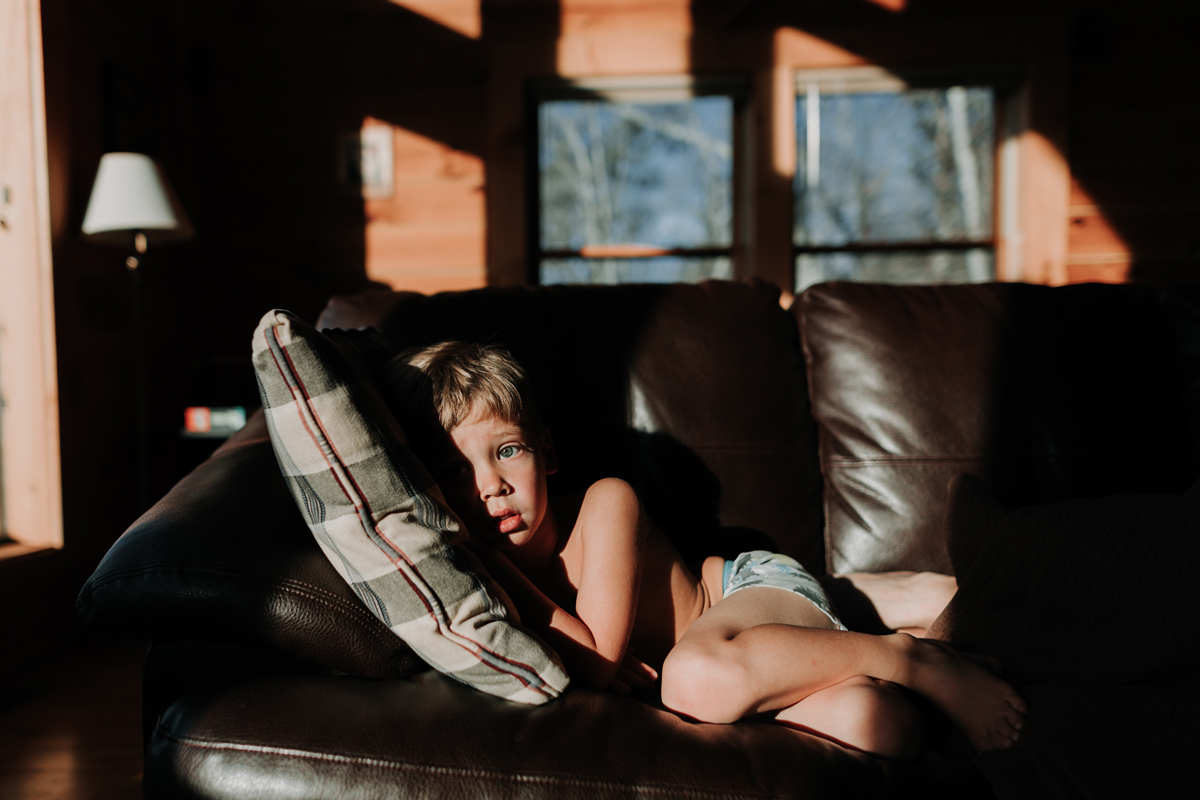
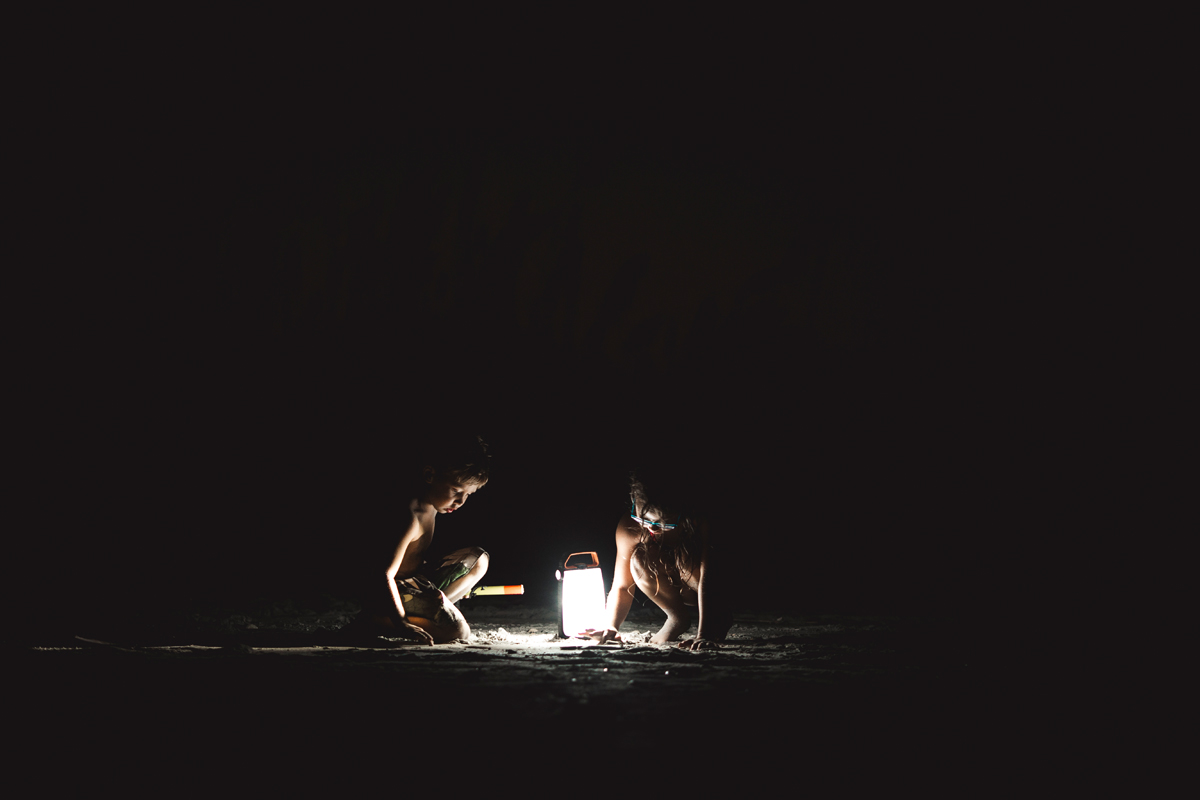
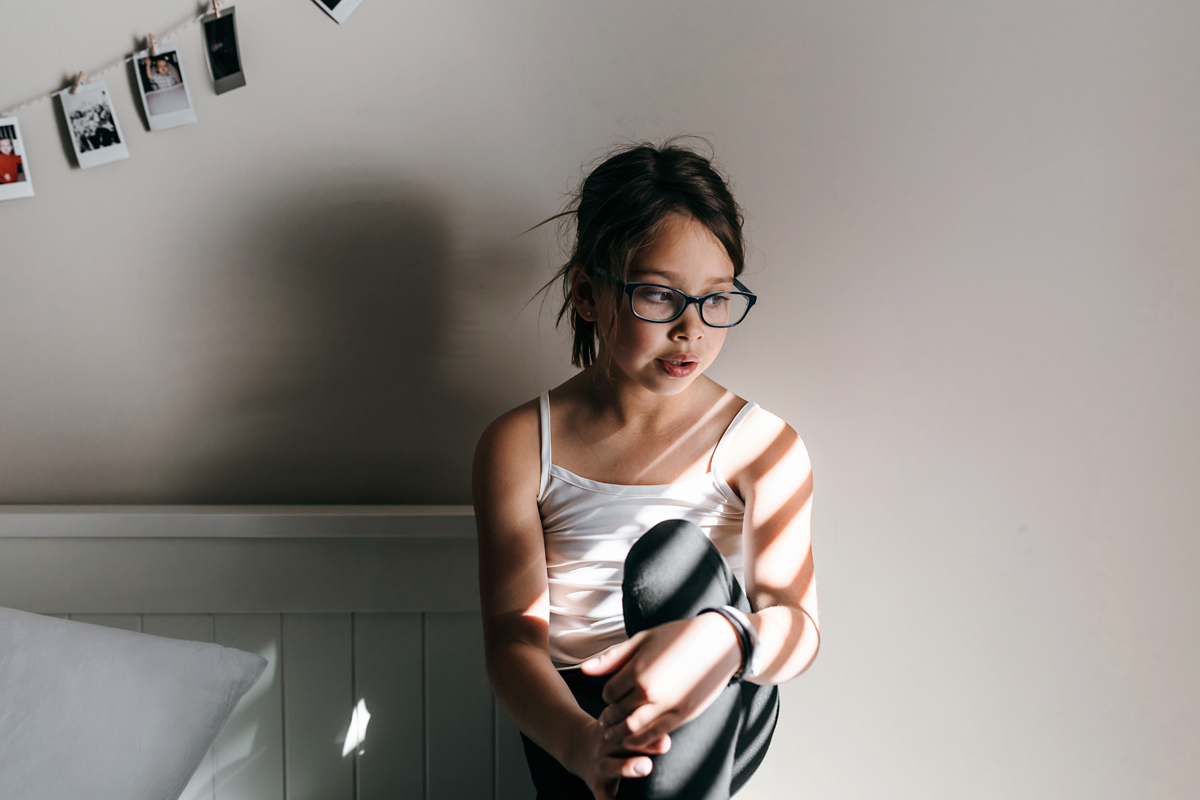
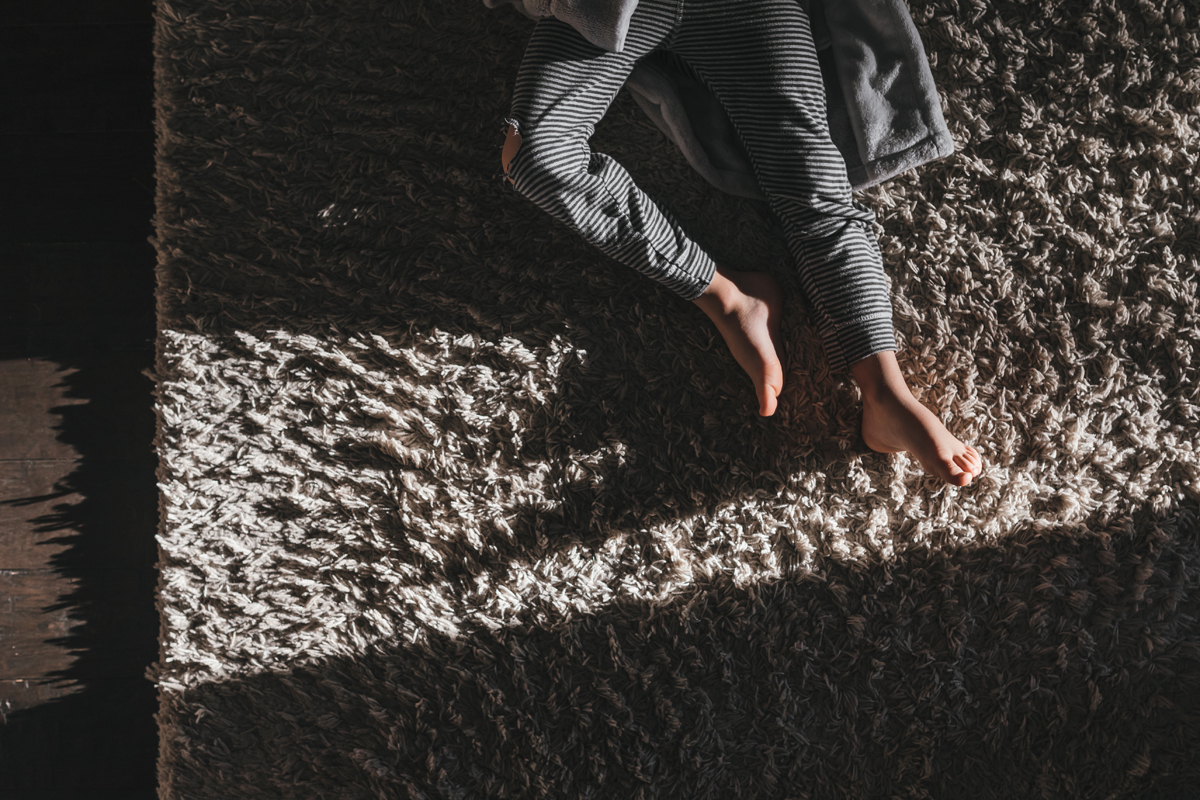
Low light can be tricky for sure. I am naturally drawn to bright and airy light, so shooting in low light has been something I’ve really had to work on and practice. Like everything photography related, it takes some practice for sure, but low light images give off a beautiful, moody effect and I love how you can use just a single speck of light to illuminate your subject. Here are some tips for shooting in low light!
1. Manual shoot in RAW.
Shooting in manual mode (and in RAW) is super important for achieving good quality low light images. Shooting in manual mode is going to allow you the option to dial in exactly where you need to be and allows YOU to do all the work, rather than your camera’s sensor. By shooting in RAW vs. JPEG, you will be able to tweak your exposure, shadows, highlights, etc… as needed in post processing as needed.

2. Increase your ISO.
A lower ISO is going to mean your camera is LESS sensitive to light. In low light situations, you will likely have to raise your ISO to make sure your shutter speed is high enough to avoid camera shake or blurriness from movement. I typically find my ISO is around 400-800 when shooting in low light, but there are plenty of times I have to up my ISO even more. Pay close attention to that shutter speed and try to keep it up over 1/150ish at least to keep from having blurry images.
3. Shoot with a wide open aperture.
By opening your aperture up, you will let more light into your frame. A wider aperture is going to narrow your focus point, so just be mindful of WHAT you want in focus, and what can kind of blend into the background.
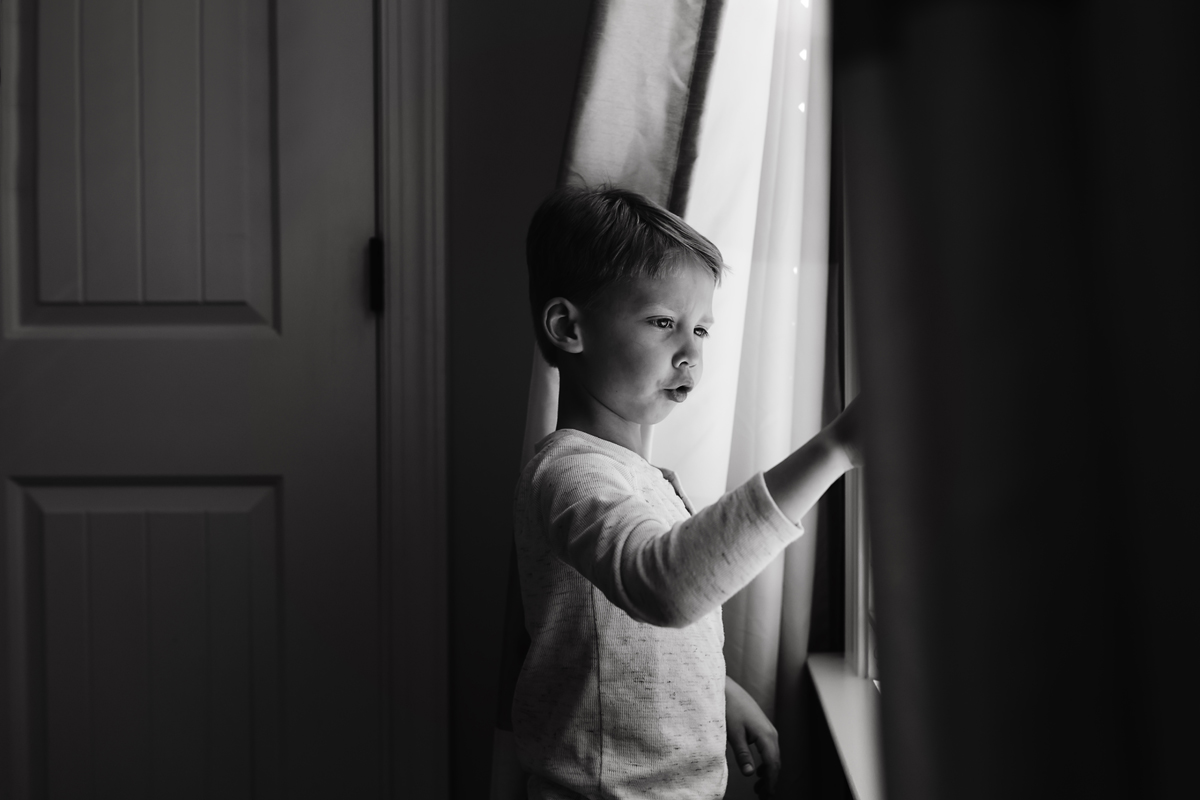
4. Spot meter for your subject.
Spot metering for your subject is critical. If you just rely on your camera to determine where to meter, you image will likely be way underexposed. Spot metering for your subject is going to ensure your subject is properly exposed.
5. Manipulate your light source as needed.
Opening and closing curtains/blinds, etc… is going to effect the quantity of your light. By closing certain curtains, you can focus in on one particular area and let your subject stand out. You can also use artificial light sources to draw your eye to your subjects!
Our contributor Stephanie Bryan can be found on our forum as well as: