7 Tips for Photographing Food This Season
As the weather cools down and fall progresses into the holiday season, lots of us will be turning on our ovens and pulling out our family’s favorite recipes. Whether you want to capture and preserve some of those holiday food memories or just want a great shot to share on social media, I thought I’d share with you some tips for photographing those favorite foods in their best light (pun intended).

1. Light
As with all photography, light is everything. In food photography, the light helps to highlight the texture of the dish
and gives us a sense of the mood. The most flattering light for food is natural light, though you can get very nice images with a tabletop light too. Make sure to turn off any harsh overhead lights and get close to a window. Food tends to look its best when the light is coming from the side or from the behind. If your image were the face of a clock, you’d want the light coming in anywhere from about 8 – 4. Front light will cause the food to look flat and dull, and you’ll lose any texture that the highlights and shadows bring out.
2. Props
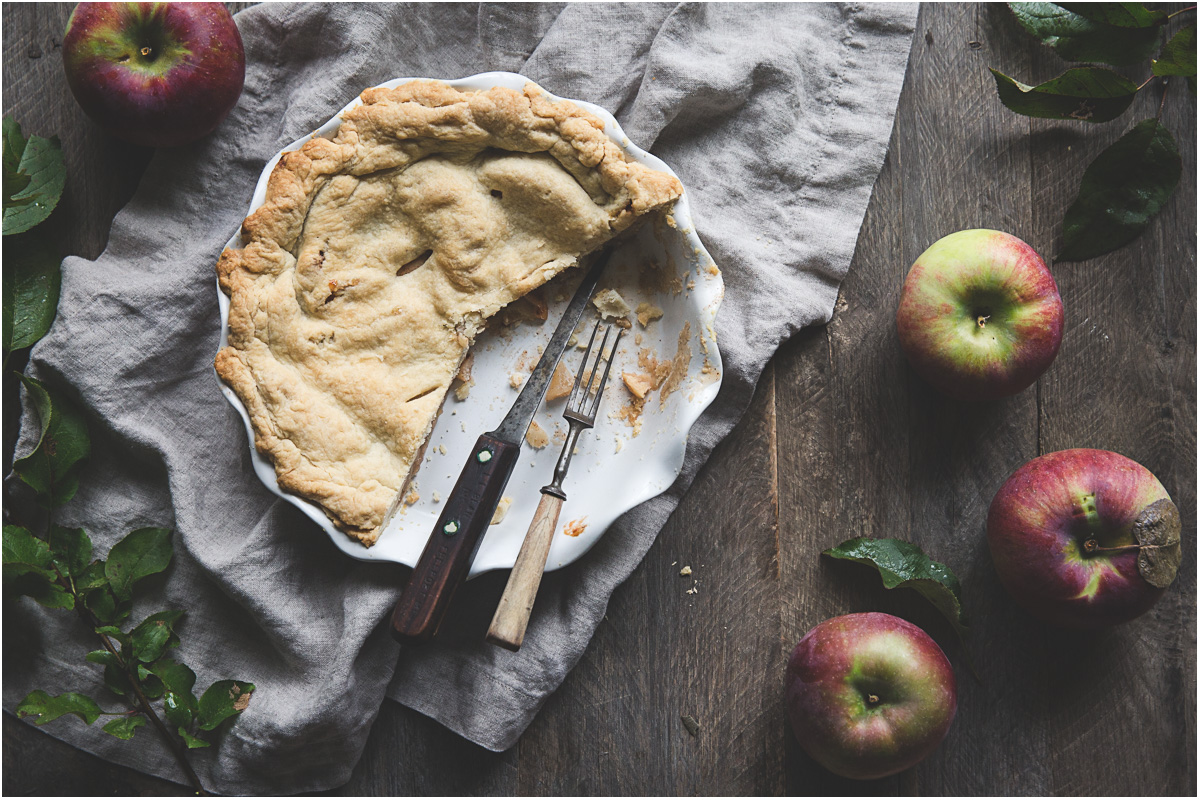
Props are the extras that go along with your main dish to complete the image and help it tell a story. Think about what emotions you want to evoke or memories you want to capture with your food photo. Then let that help you decide what props to use to set the scene. Is it a recipe you make every holiday season? Maybe include some natural elements like leaves or greenery in the background. Is the star of your image an apple pie? Include an apple and maybe a cinnamon stick on the table. Adding cloth napkins or a kitchen towel is another great prop, as those are a great way to add texture and movement to the photo.

3. Dishes
Make sure your choices of dishware are flattering to the hero food (the main subject of your photo). You don’t have to use only white plates, but make sure that the pattern and color on your dish isn’t competing or clashing with the food that you want to showcase.
4. Set up
Once you’ve chosen your props and dishes, start to lay out your scene. This can be as simple as setting the baked pie on a linen napkin on the table, or as complex as setting up a whole tablescape. Decide where your hero food will go, making sure the light is right, and add in your props, remembering that they should be playing a supporting role, not competing for the lead. Look at your composition and make sure it looks balanced to your eye.
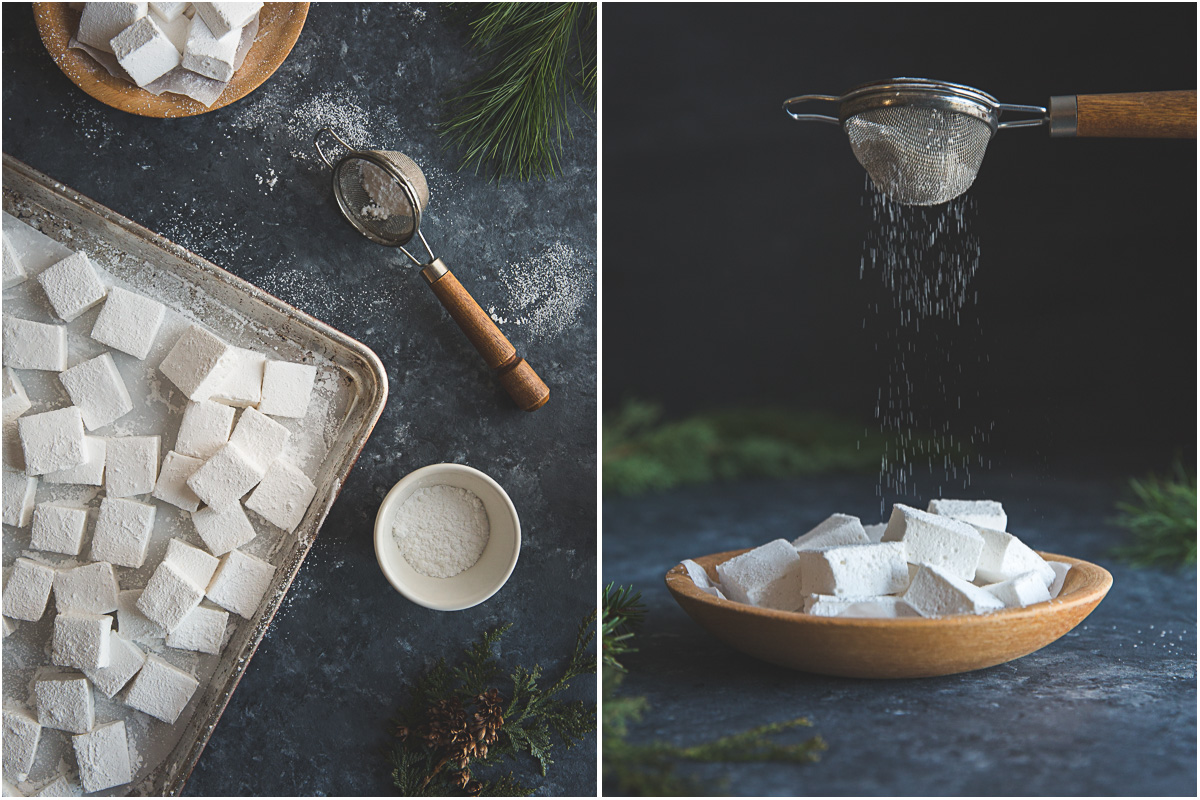
5. Food Styling
You don’t have to be a professional stylist to make your food look its best. Simple styling is often best. Think about what makes this dish special and what you want to capture about it. Adding a garnish is an easy way to enhance your dish, and it can be as simple as a dusting of powdered sugar or popping a mint leaf into a dollop of whipped cream. If it’s a casserole you’re shooting, try setting it on an attractive napkin or towel and slide a spoon into it so that you can see some of what’s inside. Most foods look most enticing when they look like they are being enjoyed, so take a bite out of the cookie and let the crumbs fall, scoop out a serving of the casserole, or remove a slice of the pie.
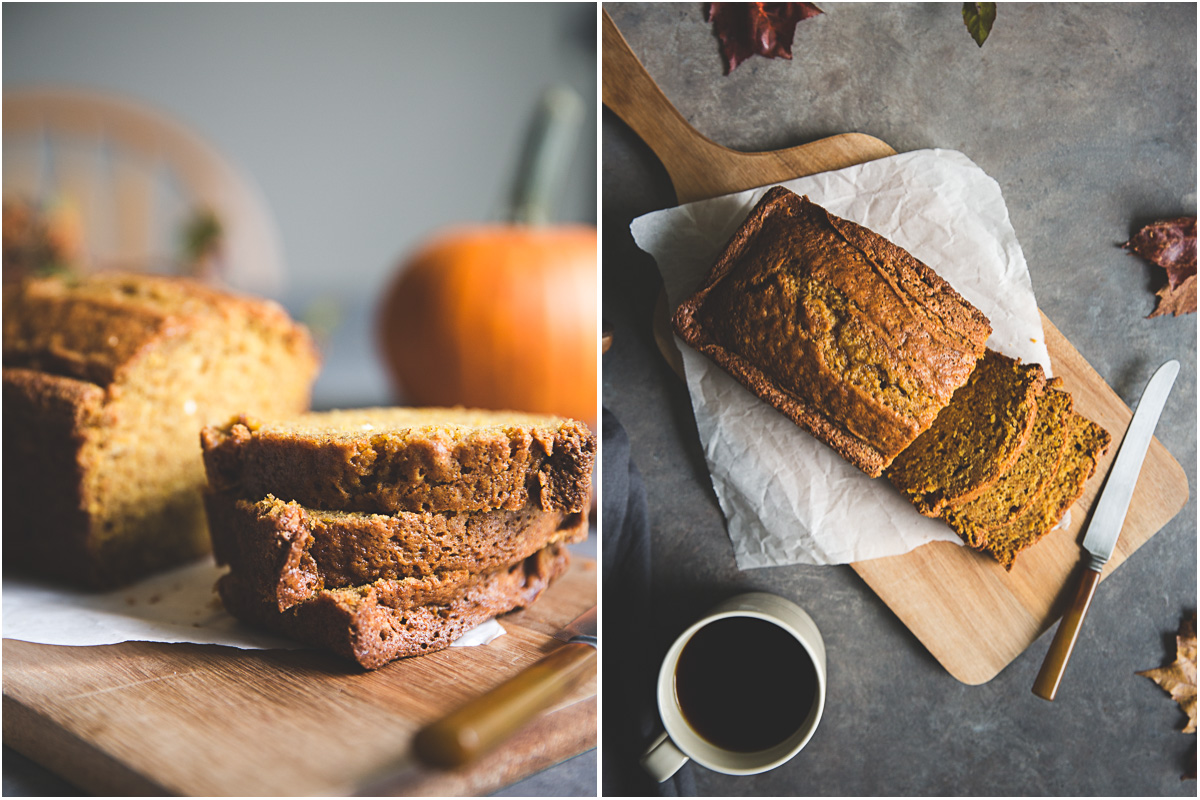
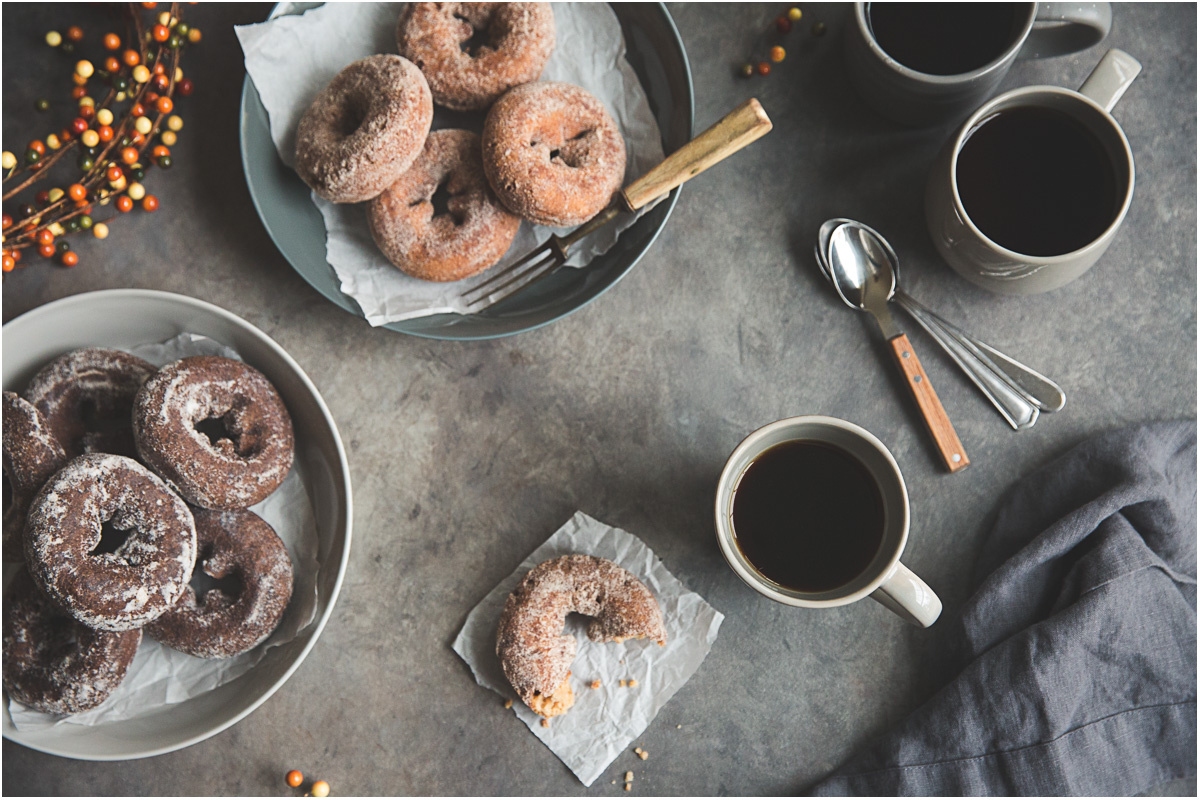
6. Perspective
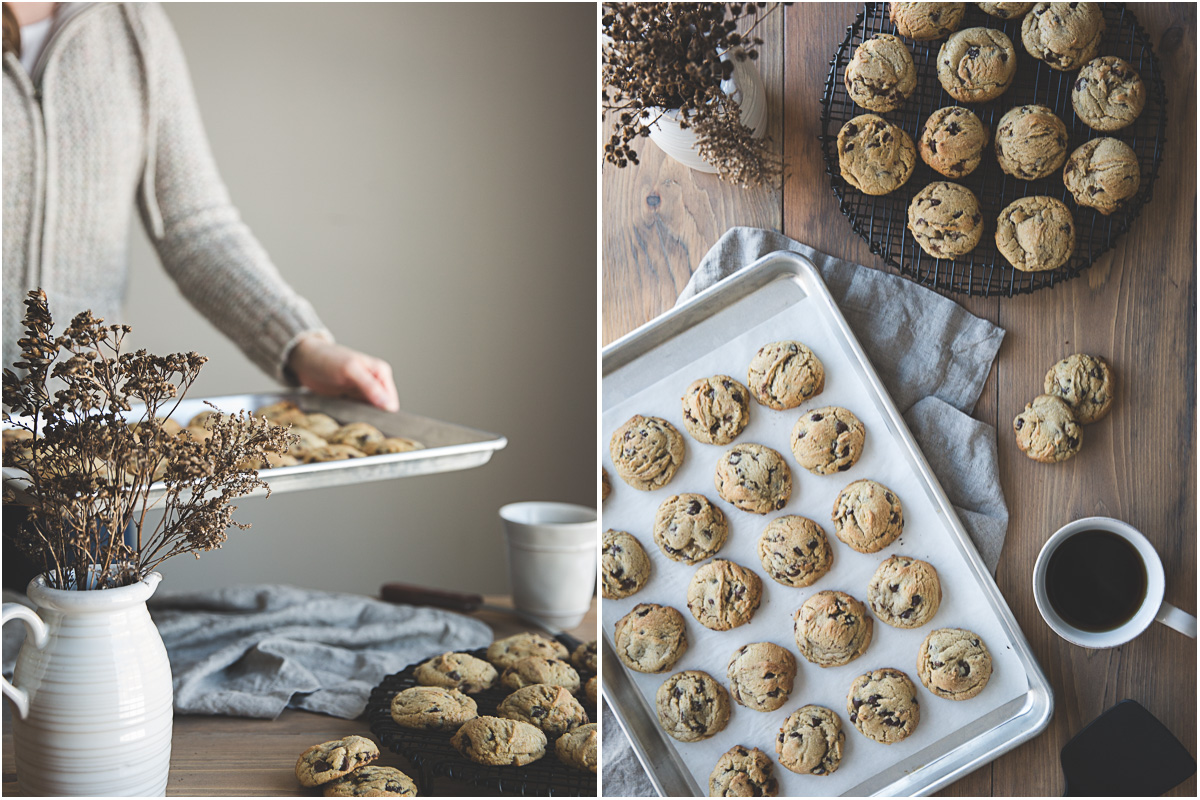
Generally speaking, a flat dish like a pie, pizza, casserole, or a batch of cookies looks best shot from overhead. This also allows you to get some additional story-telling elements into your shot. But if you want to show off what’s inside the dish, try removing a serving and shoot from a ¾ angle. Tall foods like layered cakes or muffins tend to look good shot straight on so that you can show off their height. Anything that can be stacked, like cookies or donuts, works well with a straight-on angle too. If you have the time, try out a few angles to see which one works best for your dish.
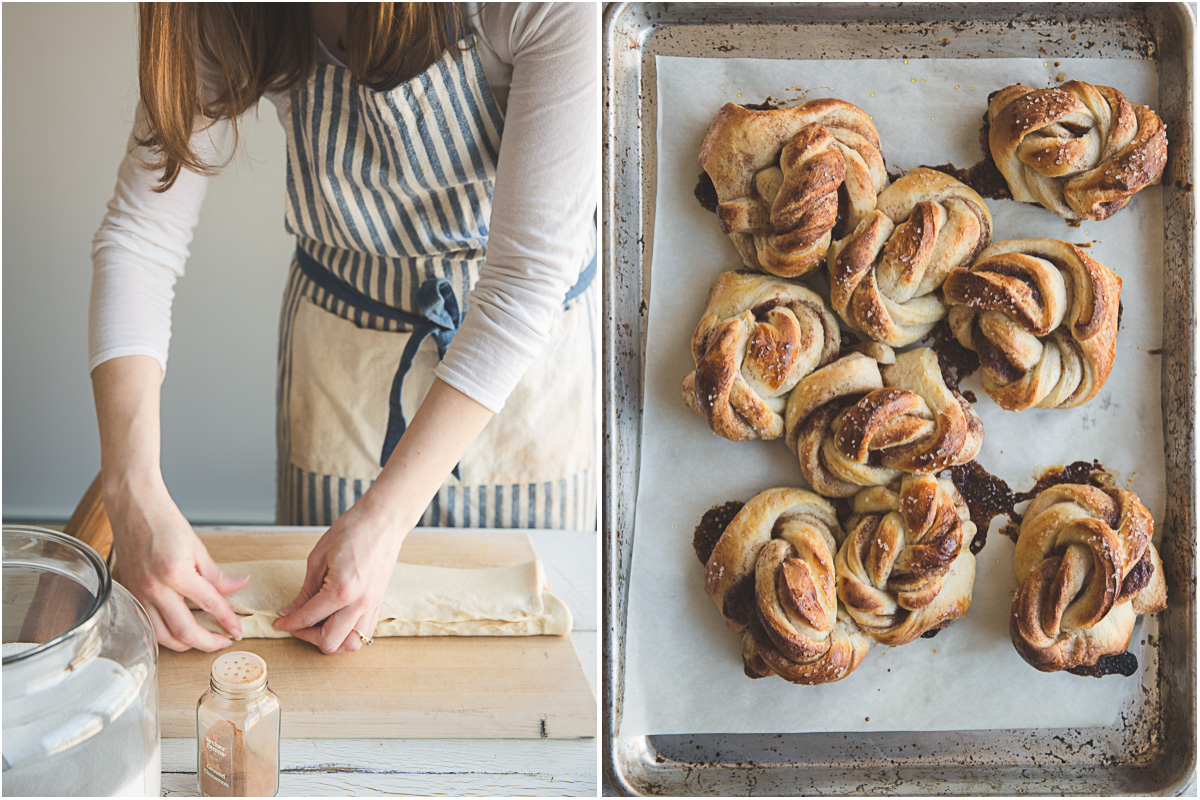
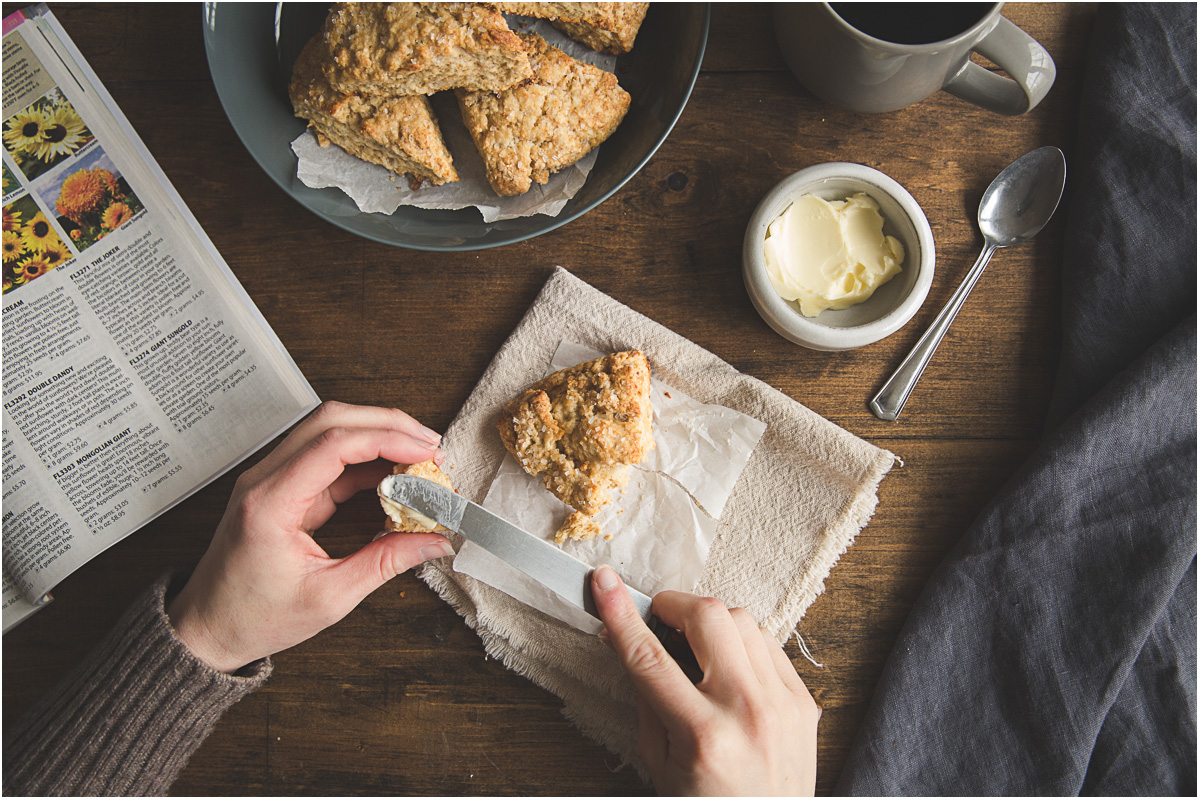
7. Adding the Human Element
Adding a human touch can really bring your story to life. Hands are a natural fit for food photos and they can be shown in both the preparation of the food, like kneading the dough or frosting cookies, or in the serving and eating of the final product. If you have another person in the kitchen, it’s easy to get the human element involved. But if you’re alone, set up a tripod, set the timer on your camera, and capture your own hands in the frame.
Of course, the best part about food photography is getting to eat the food. So go turn on the oven and have some fun!
More grogeous still life inspiration from Kate Bragg can be found here:
// SITE //
// INSTAGRAM //
Maria
Great tips Kate! I’m new to food photography and looking for ways to improve images for my blog (www.mariacella.com). Your pictures here are great and something to aspire to!